Your iPhone is more powerful than you think. Apart from capturing photos, browsing the web, or staying connected, it can also work as a portable storage drive — a secure, convenient way to carry your important files without needing an external hard disk or USB drive.
Today’s iPhones offer fast processors, generous storage options, advanced file management, and built-in tools that make them perfect for storing documents, videos, music, work files, and more.
“Your iPhone is a tool — and it becomes even more useful when you learn how to use it like one.”
This guide explains every modern way to use an iPhone as a portable drive, including USB transfers, the Files app, Wi-Fi sharing, AirDrop, external drive support, and third-party apps. Everything is written in simple language with practical steps.
Why Use Your iPhone as a Portable Drive?
Here are the biggest advantages:
- You don’t need to carry an extra USB drive
- Your data stays with you at all times
- Files remain secure inside Apple’s ecosystem
- Sharing files becomes extremely easy
- You can organize everything using the Files app
- Most tasks can be done wirelessly
And unlike traditional storage devices, your iPhone offers encryption, password protection, and cloud backup as added safety layers.
Method 1: Using USB Cable to Access iPhone Storage on Windows & Mac
This is the simplest and fastest way to use your iPhone as a portable storage device. Modern systems no longer require iTunes for basic file transfer.
Using Your iPhone as Storage on Windows (File Explorer)
Step-by-step guide:
- Connect your iPhone to the PC using a USB-to-Lightning or USB-C cable.
- Unlock your iPhone.
- Tap “Allow” when your phone asks to trust the computer.
- Open File Explorer on Windows.
- You will see Apple iPhone listed under Devices.
- Open it and access DCIM (Photos & Videos).
- You can now copy media files between the phone and PC.
Important Note:
Windows allows full access only to the Media folder (DCIM) because of iOS sandboxing.
But you can still use third-party apps to create custom folders — explained later.
Using USB Transfer on Mac (Finder Integration)
Mac users have an even easier method:
- Connect the iPhone via USB.
- Open Finder (replaces iTunes for file management).
- Select your iPhone from the sidebar.
- Navigate to Files section.
- Drag & drop files into apps like:
- Files
- VLC
- Documents by Readdle
- Adobe Acrobat
- Any file-handling app
You can create folders, import documents, export files, and manage everything smoothly.
Method 2: Using the Files App — The Heart of iPhone Storage
The Files app is what truly allows your iPhone to act as a portable storage drive.
Think of it as the iPhone’s internal hard drive, where you can:
- Create folders
- Store documents
- Save downloads
- Import files from PC
- Manage offline media
- View PDFs, videos, audio, and images
- Organize files just like on a computer
How to Store Files Locally (Offline Storage)
- Open the Files app.
- Tap Browse → On My iPhone.
- Create your folders.
- Add files using:
- Share → “Save to Files”
- Drag & drop (on iPad or Mac)
- Downloads from Safari
- USB transfer
- Third-party apps
Everything you store in On My iPhone stays offline, just like a portable hard drive.
Using Third-Party Apps to Expand Storage Ability
Apps like:
- Documents by Readdle
- VLC Media Player
- Adobe Acrobat
- FE File Explorer
- FileBrowser Pro
They allow:
- Custom folders
- Wireless transfers
- FTP/SFTP connection
- Private encrypted folders
- ZIP/RAR extraction
This greatly expands what your iPhone can do as a storage device.
Method 3: Using AirDrop for Quick Wireless File Transfer
AirDrop is one of the fastest and most secure wireless transfer methods in the world.
It allows instant sharing between:
- iPhone → Mac
- iPhone → iPhone
- iPhone → iPad
No cables, no apps, no internet required.
How to Use AirDrop (iPhone to Mac or iPhone to iPhone)
- Turn ON Bluetooth and Wi-Fi on both devices.
- Open Control Center → long-press the connectivity box.
- Tap AirDrop → choose Everyone or Contacts Only.
- Select the file → tap Share → AirDrop.
- Choose the receiving device.
Files transfer instantly and appear in the correct location automatically.
Method 4: Using Wi-Fi Transfer Tools (Browser & Network Sharing)
Many apps offer local Wi-Fi sharing without cables.
These include:
- Documents by Readdle
- FE File Explorer
- VLC
- SendAnywhere
- Snapdrop (browser-based AirDrop alternative)
How Wi-Fi Transfer Works
- Connect both devices to the same Wi-Fi network.
- Open your transfer app.
- Enable Wi-Fi Transfer.
- You will see an IP address like:
http://192.168.1.10:8080 - Open that address from your PC’s browser.
- Upload or download files wirelessly.
This makes your iPhone behave like a wireless external drive.
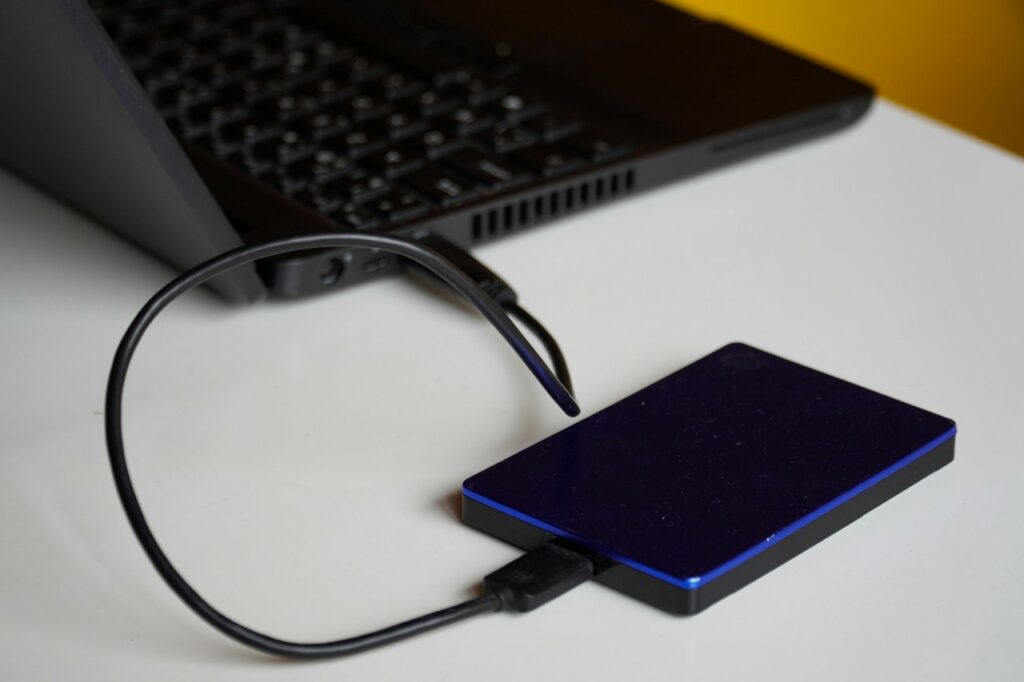
Method 5: Using External USB Drives with iPhone (OTG Support)
Modern iPhones support external storage directly using:
- USB-C flash drives
- Lightning flash drives with dual connectors
- Portable SSDs (Samsung T7, SanDisk Extreme, etc.)
- Hard disks (with extra power)
Apple introduced native support for external drives in the Files app, making it incredibly easy to move files between:
iPhone ↔ USB drive ↔ Computer
How to Use an External Drive with iPhone
- Connect your storage device to the iPhone using:
- USB-C cable (for newer iPhones)
- Lightning-to-USB camera adapter (older models)
- Open the Files App.
- Your drive appears under Locations.
- Drag and drop files between iPhone and the drive.
Important Tip:
Some hard drives need extra power, so use a USB hub or external power source.
Method 6: Cloud Sync + Offline Storage (Hybrid Method)
You can also combine cloud storage with offline iPhone storage.
Supported services:
- iCloud Drive
- Google Drive
- Dropbox
- OneDrive
- Mega
- pCloud
Benefits:
- Keeps files synced across devices
- Lets you download files for offline use
- Reduces physical storage usage
Not a replacement for a physical hard drive, but extremely convenient.
Limitations of Using iPhone as a Storage Drive
To remain honest, here are real-world restrictions:
- iPhone doesn’t expose full root storage like Android or USB disks.
- Apps operate in sandboxed folders, meaning each app has its own storage.
- Windows access is limited mostly to media folders unless you use apps.
- Large file transfers may require modern cables (USB-C is much faster).
- DRM-protected media cannot be moved freely.
But with external drives, advanced apps, and the Files app, you can still use your iPhone almost exactly like a portable hard drive.
Best Practices for Using iPhone as Portable Storage
- Create organized folders in the Files app.
- Use USB-C cables where possible for faster transfer speeds.
- Back up important files to cloud to avoid accidental loss.
- Use password protection for sensitive data.
- Clean up old downloads regularly to save space.
- Use external drives for large video files.
“Storage is only useful when it’s organized and secure.”
Who Benefits Most from Using iPhone as a Portable Drive?
This method is useful for:
- Students carrying notes and PDF books
- Travelers storing passport scans, tickets, and offline maps
- Business users keeping presentations and work files
- Video creators managing clips and drafts
- Teachers with class materials
- Anyone who prefers not to carry extra gadgets
Your iPhone becomes a safe, reliable digital companion.
Conclusion
Using an iPhone as a portable storage drive is easier today than ever before. With the Files app, USB connectivity, Wi-Fi transfer, AirDrop, and external drive support, your phone becomes a powerful, flexible storage tool that fits in your pocket.
Whether you need to carry documents for work, store offline videos, manage project files, or back up important data, your iPhone can do it all with minimal effort.
Once you learn these methods, you’ll never feel the need to carry a separate hard drive again.