Many people prefer fixing small phone issues on their own. It saves time, reduces repair costs, and helps you understand your device better. But iPhones are delicate, and even a tiny mistake can damage an important part. This guide on DIY iPhone Repair explains safe, beginner-friendly fixes and also shows you when it’s better to let a technician handle the job.
Repair experts often give one simple piece of advice: start with what you truly understand. This applies to every beginner trying to repair an iPhone at home.
Why People Choose DIY Repairs
Most users try simple DIY iPhone or mobile repairs because many common problems don’t need a technician. Issues like slow speed, poor battery backup, charging interruptions, audio problems, or a broken screen protector are usually easy to solve.
Fixing these small problems at home can:
- Save money
- Save travel time
- Help you understand your device
- Avoid unnecessary repair shop visits
However, it’s important to remember that iPhones are tightly built, and their internal components are sensitive. Only attempt tasks you’re confident about.
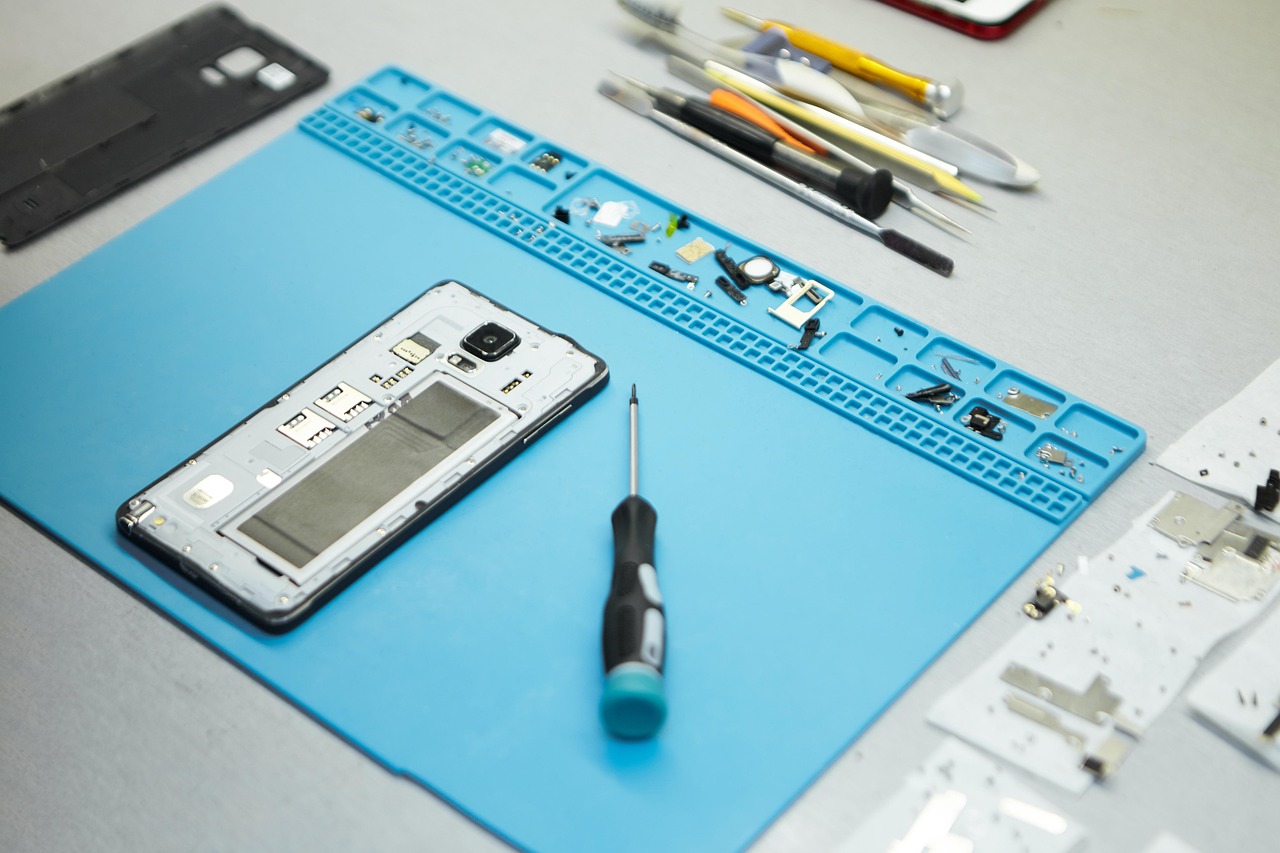
Essential Tools for Safe iPhone Repair at Home
Regular household tools are not suitable for opening an iPhone. You need proper precision tools to avoid damaging screws or delicate internal parts. Some commonly used tools include:
- Pentalobe screwdriver
- Small Phillips screwdriver
- Plastic pry tools
- Suction cup
- Tweezers
- Spudger
- ESD-safe mat (to prevent static damage)
These tools make the repair process smoother and reduce the risk of accidental damage.
Common iPhone Issues You Can Fix Yourself
1. Battery Drain
Battery issues are among the most common complaints. Before opening the device, try these simple steps:
- Close unwanted background apps
- Reduce brightness
- Check battery health from Settings
- Turn off Bluetooth, Wi-Fi, or location when not needed
If the battery is swollen or losing charge unusually fast, avoid opening the phone. Swollen batteries can be dangerous and should be handled only by trained technicians.
2. Slow Performance or Freezing Screen
These problems usually don’t require opening the phone. You can try:
- Restarting your device
- Updating to the latest iOS
- Deleting unused files
- Offloading apps
- Resetting settings (not data)
These quick steps often resolve lagging and freezing issues.
3. Charging Problems
Charging issues are very common, and many times the culprit is simple dust in the charging port.
You can try:
- Turning off the phone
- Cleaning the port gently with a wooden toothpick
- Using light bursts of compressed air
Never use metal objects or apply too much pressure.
If the port feels loose or physically damaged, it’s better to visit a repair center.
4. Speaker Not Working
Before assuming anything is broken, try these checks:
- Ensure the volume is turned up
- Disable Bluetooth (to avoid connecting to a speaker/headset)
- Clean the speaker grill with a soft brush
- Restart your phone
If the sound is still distorted or very low, the internal speaker might need professional repair.
5. Cracked Screen Protector
Replacing a screen protector is one of the easiest DIY tasks:
- Gently lift one corner using a plastic card
- Peel it off slowly
- Clean the screen
- Apply a new protector smoothly
This does not require any technical experience.
Safety Tips for DIY iPhone Repairs
Working safely is more important than finishing fast. Keep these basic rules in mind:
- Switch off your phone before opening it
- Disconnect the battery first if you open the device
- Avoid metal tools inside the phone
- Work on a clean, well-lit surface
- Keep screws organized—iPhones use many different sizes
- Take your time and avoid rushing
Following these precautions reduces the chances of mistakes.
When DIY Repair Is Not Recommended
Not all issues should be handled at home. Some repairs are complex and require experience:
- Screen replacement
- Battery replacement (especially swollen batteries)
- Motherboard repairs
- Liquid damage
- Face ID or Touch ID issues
- Camera module problems
These components are delicate, and mishandling them can lead to permanent damage. For such cases, professional help is the safest choice.
Benefits of Doing Your Own Repairs
When done correctly, DIY repairs offer several advantages:
- Lower repair costs
- Quick solutions for small issues
- Increased knowledge about your device
- Less reliance on repair centers
- Confidence in handling basic problems
Just remember: being a responsible DIY repairer means knowing your limits.
Common Mistakes to Avoid
Beginners often run into trouble because of simple errors. Avoid:
- Using cheap or poor-quality replacement parts
- Applying too much force
- Mixing screws during reassembly
- Opening the phone without proper tools
- Ignoring safety advice
Any of these can worsen the damage or make the phone unusable.
How to Keep Your iPhone Working Well After Repair
After fixing any issue, regular care will help your phone last longer:
- Clean the phone, especially ports and speaker grills
- Avoid moisture or extreme heat
- Use a good-quality case and screen protector
- Keep iOS updated
- Handle the phone carefully, especially after repairs
Good habits reduce the chances of future problems.
Final Thoughts
DIY iPhone repair can be a great way to solve small issues at home. Simple steps, the right tools, and patience can help you fix several common problems safely. But it’s equally important to understand which issues require professional skills.
Repair technicians always say: “Do what you know. Leave the risky part to experts.” If you follow that advice, you can keep your iPhone safe and still enjoy the benefits of solving minor issues on your own.