Motherboards are the heart of every mobile device. Even a small amount of moisture, corrosion, or hidden dust can disrupt the flow of current and create faults that are difficult to diagnose. Technicians often face issues where a phone appears dead, restarts randomly, heats up, or shows network problems—only to discover that the root cause was residue or corrosion under the components.
Simple cleaning solutions like isopropyl alcohol (IPA) or circuit cleaner work for light contamination. But when the motherboard has moisture, water damage, rust, flux buildup, or microscopic debris lodged beneath ICs, you need a deeper cleaning process.
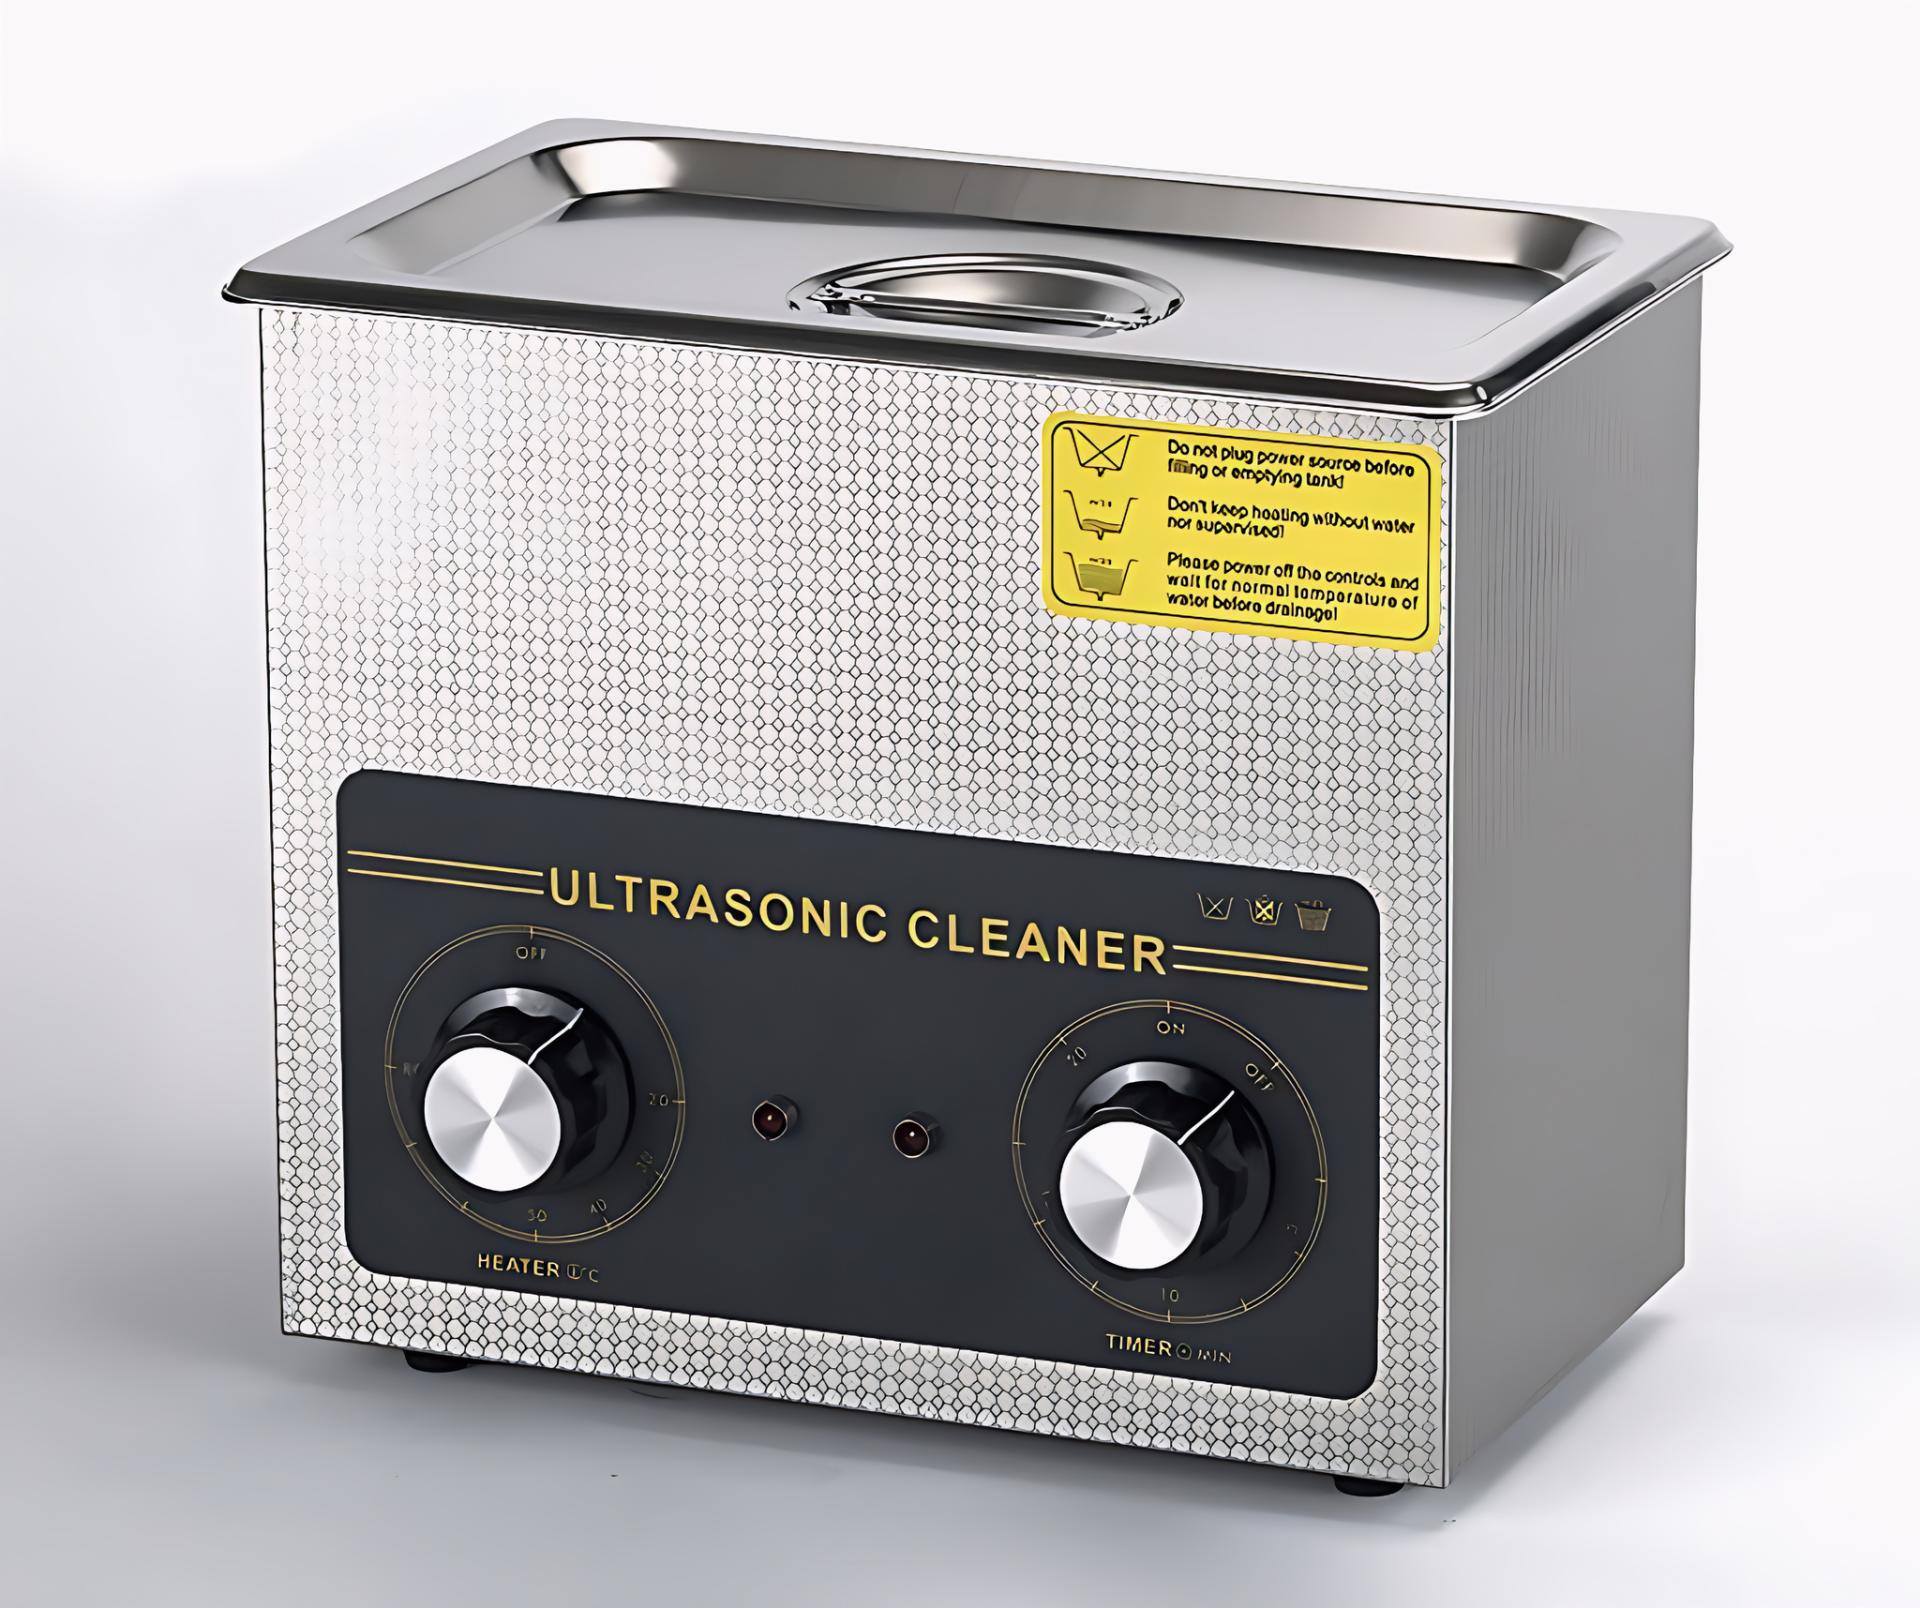
That’s where an ultrasonic cleaner becomes essential.
Ultrasonic cleaning is one of the safest and most effective methods to restore faulty phone PCBs without aggressive chemicals or scraping. As many technicians say:
“A clean motherboard solves faults that tools can’t detect.”
This guide will teach you exactly how ultrasonic cleaning works, how to use the machine properly, plus common mistakes and safety tips every technician must know.
1. What an Ultrasonic Cleaner Does in Mobile Repair
An ultrasonic cleaner uses high-frequency sound waves (typically 20–40 kHz) to create microscopic bubbles in a cleaning liquid. These bubbles collapse instantly, producing a scrubbing effect strong enough to remove:
- Dust
- Corrosion
- Oxidation
- Flux residue
- Salts from water damage
- Oil and stickiness
- Micro-debris trapped under ICs and components
This process is called cavitation, and it reaches areas where hand cleaning cannot.
Why technicians rely on ultrasonic cleaning:
- It restores dead or partially working motherboards affected by liquid damage.
- It removes hidden contamination that causes heating, short circuits, and poor performance.
- It is safer than scraping or brushing delicate components.
- It offers consistent results and reduces repeat failures.

Many experienced repair experts consider it an essential tool in every professional workshop.
2. When to Use an Ultrasonic Cleaner in Mobile Repair
You should use ultrasonic cleaning when:
✔ The motherboard has signs of corrosion
Especially when exposed to water, humidity, sweat, or liquid chemicals.
✔ The phone is dead after liquid damage
Ultrasonic cleaning can dissolve corrosive salts lodged under ICs.
✔ There is no visible fault, but the phone behaves abnormally
Issues like:
- Random restarts
- Touch failure
- Camera not working
- Network instability
- Heating
often come from contamination.
✔ You see sticky residue
Flux, old glue, or oil deposits can block circuits.
✔ After board-level or chip-level repairs
Cleaning removes leftover flux and ensures stability.
Important:
Ultrasonic cleaning is not for every issue. It should be used only when needed, not routinely.
3. Understanding How Ultrasonic Cleaning Works
Ultrasonic machines work using cavitation bubbles that scrub without damaging the board.
Key elements involved:
- Frequency (20–40 kHz) — lower frequencies clean more aggressively; higher frequencies are gentler.
- Cleaning solution — mild, non-corrosive solutions like Elma or PCB-safe detergents.
- Heat — some machines gently warm the solution to increase effectiveness.
- Time — the cleaning cycle usually lasts 3–6 minutes for mobile PCBs.
Ultrasonic cleaning is used across industries: jewellery, surgical tools, watches, automotive parts, and optical components. Its reliability and depth make it ideal for modern motherboards.
4. Preparing the Motherboard for Ultrasonic Cleaning
Before putting a PCB into the machine, proper preparation is critical.
A. Remove all detachable parts
Detach:
- Battery
- Display
- Cameras
- Speakers
- Vibrator motor
- Antenna lines
- SIM tray
- Memory card
- Charging cable connectors
These components cannot be submerged.
B. Remove fragile connectors or shields if needed
If a connector is already damaged, remove or protect it.
C. Inspect the board
Look for:
- Burn marks
- Broken ICs
- Missing components
- Heavy corrosion areas
D. Pre-clean with IPA
Gently brush away loose dirt and dust.
This ensures the ultrasonic process works more efficiently.
5. Choosing the Right Cleaning Solution
Using the correct solution is essential. Do not use harsh chemicals or strong acids.
Recommended solutions:
- Elma PCB Cleaning Solution
- Mild detergent (phone-safe)
- Commercial ultrasonic PCB cleaner liquids
Do NOT use:
- Petrol
- Kerosene
- Alcohol mixed with water
- Acidic cleaners
- Vinegar
- Any corrosive liquid
Using the wrong liquid can damage ICs, connectors, and the entire board.
6. Step-by-Step Procedure: How to Use an Ultrasonic Cleaner for Mobile Repair
Below is the updated, safe, modern method technicians follow:
Step 1: Fill the Ultrasonic Machine
Pour your cleaning solution into the tank.
Important:
Ensure the PCB can be submerged fully without touching the bottom surface directly. Some technicians use a metal mesh tray.
Step 2: Remove Delicate Components
Detach:
- Cameras
- Front/back sensor units
- Switch flexes
- Fingerprint sensor
- Any removable shields
These parts should never be dipped.
Step 3: Place the PCB Into the Solution
Dip only the mainboard. Keep flex cables or partially attached modules out of the liquid.
Position it horizontally to allow even cleaning.
Step 4: Switch On the Ultrasonic Cleaner
Set the timer between 3 to 6 minutes depending on corrosion level.
You will see slight movement in the liquid—this is the cavitation effect.
Do NOT exceed recommended time, as excessive exposure may cause:
- Delamination
- Pad lifting
- Weakening of solder joints
Step 5: Remove the Board and Inspect
After the cycle:
- Take out the PCB
- Inspect for remaining deposits
- Repeat for 1–2 minutes if needed (not longer)
Step 6: Rinse With IPA or Circuit Cleaner
This is a crucial step.
Ultrasonic cleaning liquid leaves micro residues. Rinsing with IPA:
- Removes leftover chemicals
- Helps quick evaporation
- Adds a protective layer
Step 7: Dry the PCB Completely
Drying is the MOST important step.
Any remaining droplet can cause short-circuit.
Use:
- Hot air gun (low heat)
- Blower
- PCB preheater at safe temperature
- Sunlight in emergency (not preferred for professionals)
Dry until absolutely no moisture remains under ICs.
Step 8: Test the Motherboard
After drying:
- Reassemble the essential components
- Test with DC power supply or battery
- Observe current reading
- Check booting, charging, and basic functions
7. Safety Tips for Using Ultrasonic Cleaning Machines
Using the machine without precautions can damage the board.
Below are the most important safety rules every technician must follow.
✔ Do not use high temperature
Excess heat can warp the board or loosen solder.
✔ Do not keep the PCB for too long
Long exposure weakens joints.
✔ Never dip the display, battery, or cameras
Even a few seconds of submersion can destroy them.
✔ Use only PCB-safe solutions
Avoid household liquids.
✔ Ensure proper drying
This is the biggest cause of post-cleaning short circuits.
✔ Use a clean tank
Dirty solution can contaminate the board further.
8. What Problems Can Ultrasonic Cleaning Solve?
Technicians often recover boards with issues like:
1. Dead phones after liquid damage
Cleaning removes corrosive salts causing shorts.
2. Touchscreen not working
Moisture under touch ICs affects signals.
3. Heating issues
Contamination around power ICs causes excessive current.
4. Charging problems
Corrosion on charging ICs or filters leads to poor performance.
5. Network failure
Rust near RF ICs can disrupt communication.
6. Camera or sensor errors
Moisture around ICs causes disconnection.
7. Boot loop and restart issues
Short circuits caused by hidden corrosion are resolved.
Ultrasonic cleaning solves faults that are invisible to the naked eye.
9. Common Mistakes Technicians Must Avoid
Even experienced technicians sometimes make errors. Avoiding the following mistakes prevents motherboard damage:
❌ Using the machine with water only
Water alone cannot clean effectively.
❌ Overheating the board
High temperature harms ICs and solder.
❌ Running the machine for 10–20 minutes
Strong cavitation can break solder joints.
❌ Not rinsing with IPA
Residue from solutions can cause issues later.
❌ Using poor-quality chemicals
Cheap detergents leave deposits.
❌ Not drying properly
Even one droplet trapped under ICs can kill the board.
Make sure the PCB is completely dry before connecting a battery or power supply. Even a tiny drop of water can hide under ICs and components, and this invisible moisture can cause a short circuit. Always dry the board thoroughly after cleaning to avoid damage.
10. Advanced Tips for Better Ultrasonic Cleaning Results
Professionals use a few additional techniques:
✔ Preheat the solution slightly
Warm liquid cleans better (but never too hot).
✔ Use an ultrasonic cleaner with frequency adjustment
Higher frequency = gentle cleaning
Lower frequency = stronger cleaning
✔ Clean the tank regularly
Clean liquid ensures consistent results.
✔ Use a mesh tray
Prevents the board touching the tank floor.
✔ Clean again after chip-level repair
Removes flux and improves stability.
11. When You Should NOT Use an Ultrasonic Cleaner
Avoid ultrasonic cleaning in these cases:
❌ The board has burnt ICs
Fire-damaged boards may disintegrate.
❌ The board has loose components
Cavitation may detach them.
❌ Phones with glued components that cannot be removed
Damage risk increases.
❌ If you cannot dry the board fully
Improper drying leads to returns or permanent damage.
12. Alternate Cleaning Method (Not as Effective but Useful)
If you don’t have an ultrasonic machine: If you don’t have an ultrasonic cleaner, you can use a basic manual cleaning method.
Simply submerge the PCB in a mild cleaning solution like Elma or a gentle soap mixture for 1–2 hours. After soaking, take out the board and scrub it carefully with a soft brush to remove dirt and corrosion. Once done, rinse the PCB with IPA or circuit cleaner to remove any leftover residue, and then dry it completely using warm air.
This method works, but it’s not as powerful as ultrasonic cleaning, because it cannot remove dirt trapped under ICs and tiny components.
Manual soaking method:
- Submerge PCB in mild cleaning solution
- Leave for 1–2 hours
- Brush thoroughly
- Rinse with IPA
- Dry completely
However, this method cannot clean under ICs, which is why ultrasonic cleaning remains superior.
13. Result Expectations After Ultrasonic Cleaning
In many cases, ultrasonic cleaning:
- Restores dead boards
- Removes corrosion
- Fixes short circuits
- Improves performance
However:
- Some boards may need soldering or IC replacement
- Corrosion may have already eaten tracks permanently
- Water damage can be unpredictable
Be transparent with customers. Honesty builds trust in your repair business.
Conclusion
Ultrasonic cleaning is one of the most effective ways to remove corrosion and restore faulty phone motherboards. It reaches areas that no brush or IPA can clean manually. When used correctly—with the right solution, time, and drying methods—it can revive devices that seem completely dead.
But remember:
“A motherboard cleaned well is a motherboard repaired half.”
With the steps and safety tips in this guide, you can use an ultrasonic cleaner confidently and professionally. Mastering this process not only improves repair success rates but also builds your reputation as a reliable technician.