Mobile phones have become essential for almost everything—communication, business, capturing memories, navigation, payments, entertainment, and more. So when a device stops working, even for a few hours, it feels like life has slowed down. That’s why mobile repair skills are more valuable today than ever.
Whether you’re a beginner learning to fix phones, a technician brushing up your skills, or simply someone curious about troubleshooting, this guide will teach you the most important repair tips and tricks in a simple, practical, easy-to-understand way.
As repair professionals often say, “Every device has a solution—you just need the right tools and the right approach.”
What This Guide Covers
This article offers a complete overview of:
- Understanding the structure of mobile devices
- Identifying motherboard components
- Diagnosing hardware and software issues
- Hands-on troubleshooting
- Safety practices
- Flashing, formatting, and firmware repairs
- Practical tips for beginners
- Common mistake-prevention methods
- Examples from real repair scenarios
Everything is written in clean, conversational language so you can learn quickly and confidently.
Introduction to Mobile Phone Repair
Mobile repair may look complicated from the outside—chips, circuits, tiny components, advanced software—but the reality is simpler than most people think. Repairing devices becomes easy when you understand how they work, why they fail, and what steps restore them back to normal.
You’ll find three major pillars in mobile repair:
- Dismantling and assembling
- Hardware diagnostics
- Software troubleshooting
Master these, and you can fix almost any phone, whether it’s Samsung, Apple, Oppo, Vivo, Xiaomi, Motorola, Tecno, or any less-known brand.
And remember this quote that every good technician lives by:
“Knowledge grows when you use your hands, not just your eyes.”
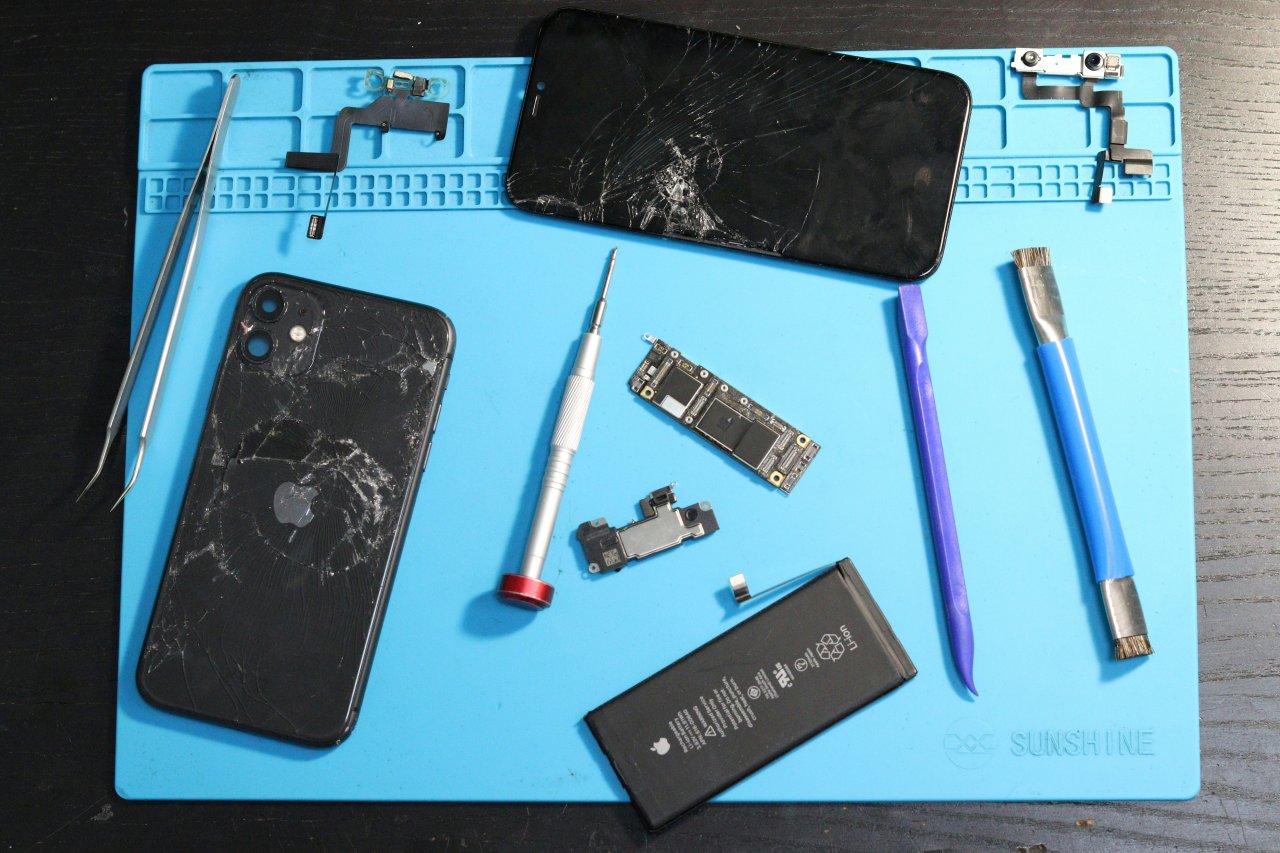
Understanding How a Smartphone Works
Before learning repair techniques, you must understand the major parts inside a mobile phone.


Every smartphone contains:
1. Display Assembly
- Touchscreen (digitizer)
- LCD or AMOLED display
- Frame and supporting layers
2. Battery
Removable or non-removable lithium-ion battery.
3. Motherboard
The heart of the device. It includes:
- CPU & GPU
- RAM
- Power IC (PMIC)
- Charging IC
- Audio IC
- Network IC
- RF components
- EEPROM / ROM
- Wi-Fi & Bluetooth modules
4. Cameras
Front and rear modules with separate sensors.
5. Antennas
Responsible for network, Wi-Fi, GPS, Bluetooth.
6. Speakers & Microphones
Ear speaker, loudspeaker, primary and secondary mics.
7. USB/Charging Port
Often one of the most replaced components.
8. Vibrator Motor
For haptic feedback.
When you learn to identify these components, half the troubleshooting already becomes easy.
Tools You Need for Mobile Repair
Having the right tools ensures accuracy and safety.


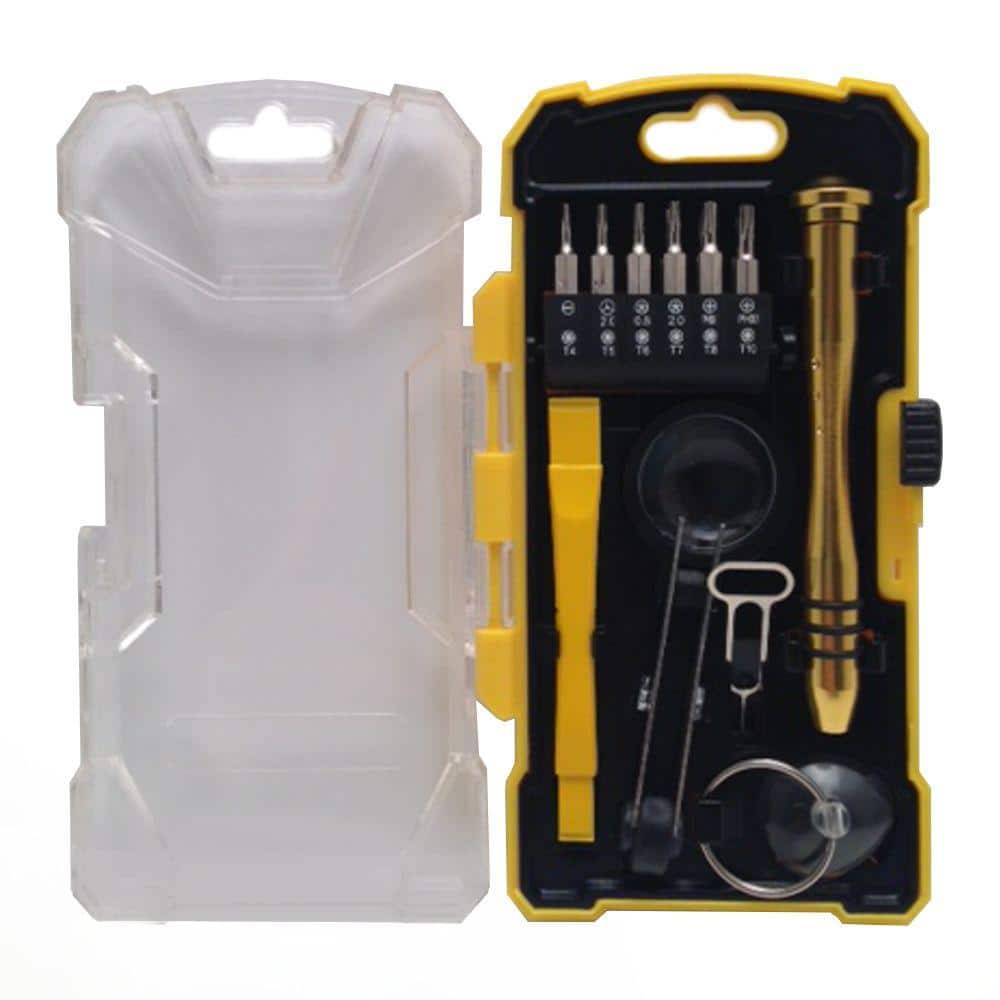
Essential tools include:
Basic Tools
- Precision screwdriver set
- Plastic pry tools
- Tweezers
- Opening picks
- SIM ejector
- Isopropyl alcohol (IPA)
- Magnifying lamp
Intermediate Tools
- Soldering iron
- Hot air rework station
- Multimeter
- DC power supply
- PCB holder
- Microscope (optional but helpful)
Software Tools
- Flashing tools (brand-specific)
- Drivers and firmware files
- Data recovery applications
- Unlocking utilities (legal use only)
High-quality tools protect devices from damage and improve your success rate.
Dismantling and Assembling a Mobile Phone
Correct dismantling prevents accidental damage to:
- Display
- Motherboard
- Flex cables
- Connectors
- Fingerprint sensors
Safe Dismantling Steps
- Power off the phone completely
- Remove SIM, SD card, and accessories
- Gently heat the back cover if it’s glued
- Use plastic tools—not metal—to lift edges
- Disconnect the battery before touching anything else
- Handle flex cables carefully—they tear easily
- Store screws in separate groups to avoid confusion
Reassembling Tips
- Never over-tighten screws
- Ensure all connectors click into place
- Clean surfaces with IPA before closing
- Test everything before final sealing
Identifying Motherboard Parts and Their Functions
Understanding the roles of ICs helps you diagnose issues confidently.
Important IC Components
Power IC (PMIC):
Controls battery power, charging, and voltage distribution.
Charging IC:
Handles fast charging, USB communication, and battery detection.
Audio IC:
Manages speakers, headphones, and microphone-related functions.
Network IC / RF section:
Controls SIM detection, signal strength, and mobile data.
Backlight IC:
Lights up the display; faulty IC causes dim or black screen.
CPU & RAM:
Brains of the phone—rarely replaced but often fail due to overheating or water damage.
Learning how these parts interact dramatically improves your fault-finding ability.
Diagnosing Hardware Problems
Hardware faults are usually related to:
- Battery issues
- Display damage
- Motherboard faults
- Charging problems
- Audio issues
- Camera failures
- Water damage
Here’s how to approach them.
1. Battery Problems
Common symptoms:
- Phone turns off randomly
- Full charge drains rapidly
- Device only works when plugged in
Solutions:
- Calibrate battery
- Replace degraded battery
- Check charging IC or PMIC if battery is new
2. Display Problems
Symptoms:
- Touch not working
- Flickering screen
- Lines on display
- Black screen
Fix:
- Replace LCD or AMOLED
- Clean flex cable connection
- Check display IC
3. Charging Issues
One of the most frequent hardware repairs.
Symptoms:
- Slow charging
- Not charging at all
- Phone heats while charging
- Charging only at specific angles
Fix:
- Replace charging port
- Clean connector pins
- Test with DC power supply
- Check Charging IC and PMIC if port is fine
4. Camera Problems
Symptoms:
- “Camera failed” message
- Blurry photos
- Camera not opening
Solutions:
- Replace camera module
- Clean connectors
- Update or reset software
5. Audio Problems
Symptoms:
- Caller can’t hear you
- You can’t hear the caller
- No sound in videos or apps
Fix:
- Replace speaker / mic
- Reheat or replace Audio IC
- Clean mesh filters (often clogged with dust)
6. Water Damage Repairs
Water damage is tricky but often repairable if treated quickly.
Steps:
- Switch off device immediately
- Dry using absorbent cloth
- Open back cover
- Disconnect battery
- Clean motherboard with IPA
- Dry thoroughly before testing
Never use a hairdryer—it can push moisture deeper.
Diagnosing Software Problems
Many issues are software-related and easy to fix.
1. Device Running Slow
- Clear cache
- Uninstall heavy apps
- Reset settings
2. Boot Loop or Stuck Logo
Often fixed by:
- Flashing firmware
- Wiping data and cache
3. Network or SIM Issues
Try:
- Reset network settings
- Replace SIM
- Flash firmware
- Check baseband status
4. App Crashes
- Update apps
- Clear app data
- Check storage space
Flashing and Formatting Mobile Phones
Flashing refers to reinstalling the phone’s operating system.
Formatting refers to wiping user data.
Why Flashing is Needed
- Stuck on logo
- Software corruption
- Virus or malware
- Forgotten password (legitimate use only)
How to Flash Safely
- Use official firmware only
- Install correct drivers
- Backup user data (if possible)
- Fully charge the device
- Never interrupt the flashing process
Using the wrong firmware can permanently damage the device, so accuracy matters.
Practical Tips and Tricks for Repair Technicians
Here are the most useful mobile repair insights gathered from real-world experience.
1. Always Start with Visual Inspection
Look for:
- Burn marks
- Corrosion
- Loose ICs
- Broken connectors
- Missing components
2. Use a Multimeter for Quick Diagnosis
Check:
- Continuity of tracks
- Short circuits
- Voltage output from PMIC
3. Clean First, Repair Later
A huge number of issues are caused by:
- Dirt
- Moisture
- Loose connectors
4. Avoid Excessive Heat
Too much heat:
- Warps the motherboard
- Damages ICs
- Melts flex cables
Use proper temperature ranges.
5. Maintain a Troubleshooting Checklist
This prevents missing simple solutions.
6. Follow “Least Risk First” Approach
Example:
- Try cleaning → reconnecting → replacing minor parts → motherboard repair.
7. Keep Learning
Mobile technology changes fast.
Forums, YouTube channels, and training institutes help build expertise.
Common Mistakes and How to Avoid Them
Mistake 1: Using metal tools on delicate parts
Can cause short circuits.
Mistake 2: Skipping ESD protection
Electrostatic discharge can damage ICs.
Mistake 3: Rushing during dismantling
Leads to torn flex cables.
Mistake 4: Ignoring battery safety
Damaged batteries can swell or burst.
Mistake 5: Flashing wrong firmware
Causes dead phone or corrupted partition.
When a Phone Is “Beyond Repair”
A phone becomes near-impossible to repair when:
- CPU or RAM is internally damaged
- Motherboard is severely burnt
- Board layers are broken
- Severe corrosion has eaten through tracks
- Device fails even after IC replacement
However, skilled board-level technicians can still revive many cases that seem impossible.
How to Improve Your Repair Skills Quickly
1. Practice on Old Phones
Before handling expensive devices.
2. Watch Live Repair Videos
Helps you understand real scenarios.
3. Join Technician Communities
Forums and groups offer daily learning.
4. Learn Microsoldering
Increases your repair success rate.
5. Stay Updated
New phone models require new methods.
Conclusion
Mobile phone repair is a blend of knowledge, observation, and hands-on practice. When you understand how phones work and follow a systematic troubleshooting approach, even complex problems become simple.
Whether you’re repairing for personal use or building a professional career, the tips in this guide will help you diagnose faults faster, avoid common mistakes, and build confidence.
If you approach every device with patience and curiosity, your skills will grow naturally and consistently.