Checking PCB tracks is one of the most important skills in mobile phone repair. Technicians commonly call this process circuit tracing or line checking. It is used to find broken, damaged, or disconnected tracks on a printed circuit board (PCB).
Many mobile phone problems are not caused by faulty components. Instead, they happen because a tiny copper track inside the PCB is broken. These tracks are usually hidden inside the board and cannot be seen directly. That is why proper testing methods are required.
“A phone does not stop working because of one big fault. Most failures begin with one small broken connection.”
This guide explains how to identify, test, and repair PCB tracks in smartphones, Android devices, iPhones, and feature phones. It is written for beginners as well as technicians who want to strengthen their fundamentals.
What Is Circuit Tracing or Line Checking
Circuit tracing means following the electrical path on a PCB to ensure that voltage and signals are reaching the correct components. A PCB is not just a flat green board. It is a complex structure made of multiple layers.
Most modern mobile phone motherboards have:
- 7 to 10 internal layers
- Power tracks
- Signal tracks
- Ground planes
- Shielded areas
These tracks carry electricity from one point to another. If any track is damaged, the circuit becomes incomplete.
Why PCB Tracks Get Damaged
PCB tracks can break for several reasons, including:
- Physical drop or impact
- Water or moisture damage
- Corrosion due to humidity
- Overheating
- Poor-quality previous repair
- Excessive current or short circuit
Even a small crack in a track can stop a component from working.
Problems That Occur When PCB Tracks Are Broken
Every function in a mobile phone depends on specific tracks. These tracks supply voltage and signals to different parts.
When a track breaks, the related part may:
- Stop working completely
- Work intermittently
- Fail only under load
Common symptoms include:
- Microphone not working
- Speaker or ringer dead
- Vibrator not functioning
- Display not showing properly
- Phone not charging
- Network or SIM issues
In many cases, technicians replace the component, but the problem remains. This usually indicates a track-level issue, not a component failure.
How to Identify a Broken Track
In older phones, many tracks were visible on the PCB surface. That is no longer the case with modern smartphones.
Today:
- Most tracks are internal
- Many are hidden under ICs
- Some run between multiple layers
Because of this, technicians rely on logic, diagrams, and testing tools.
Basic troubleshooting approach:
- Identify the faulty function
- Check the related component
- Measure voltage at the component
- If voltage is missing, trace the line
If the component is fine but not receiving power or signal, the track is likely broken.
Using Online Diagrams to Trace PCB Tracks
One major advantage today is the availability of repair diagrams online. Many technicians use solution images shared by the repair community.
You can search for diagrams using:
- Google Images
- Repair forums
- Technical discussion boards
Example searches:
- Nokia microphone problem PCB solution
- Samsung charging problem track diagram
These diagrams usually show:
- Power lines
- Signal paths
- Test points
- Jumper locations
Always compare multiple images before trusting one diagram.
Selecting the Right Diagram
Not all diagrams online are correct. Some are incomplete or wrongly marked.
Choose diagrams that:
- Are clear and high-resolution
- Show exact component names
- Have been shared by multiple sources
- Match your board layout
Using incorrect diagrams can cause further damage.
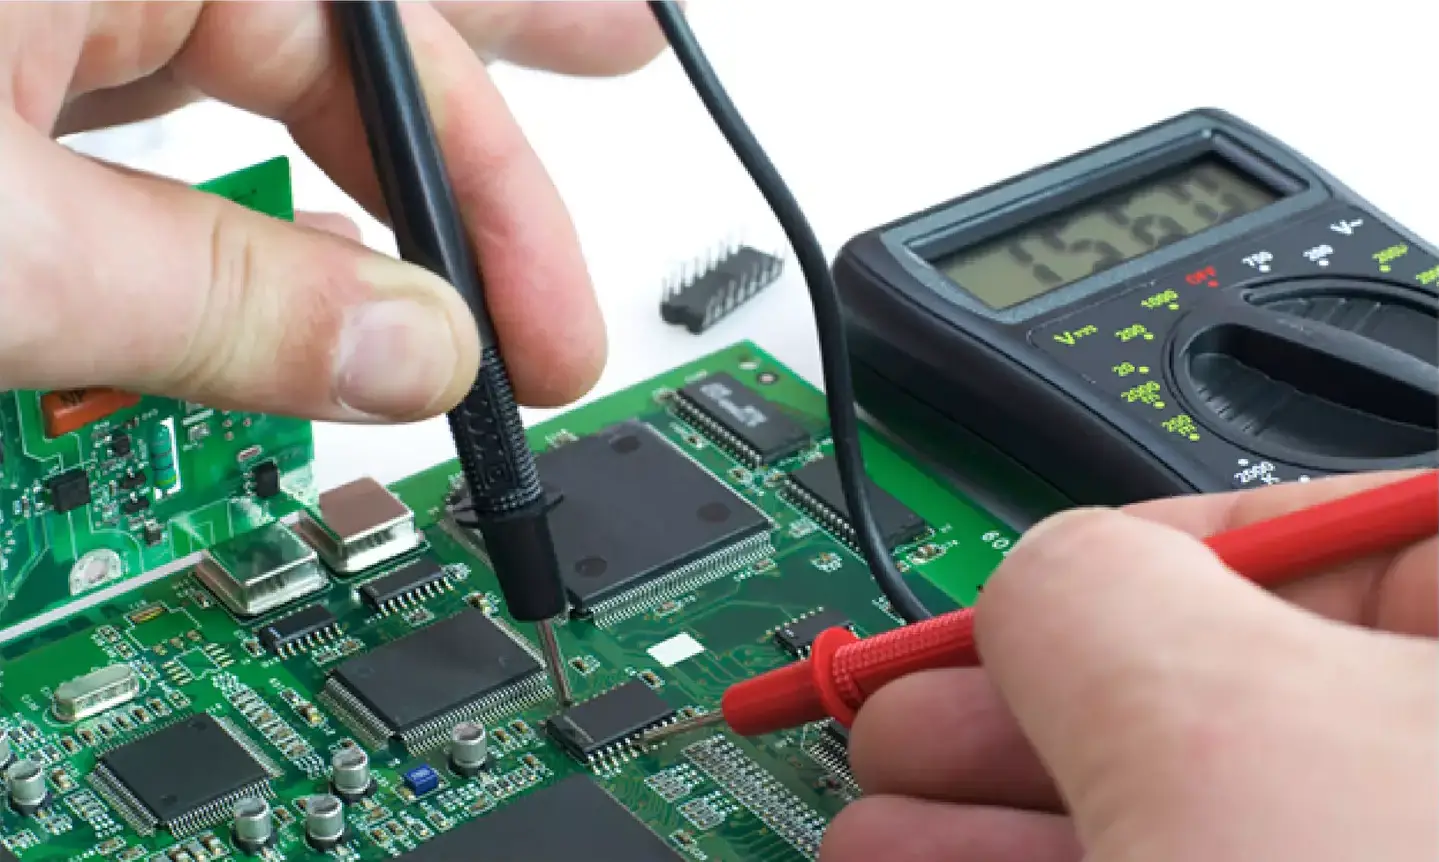
How to Check PCB Tracks Using a Multimeter
A digital multimeter is the most important tool for checking tracks.
Multimeter setting:
- Set the meter to continuity mode
Step-by-step method:
- Place one probe at the starting point of the track
- Place the other probe at the ending point
- Listen for the beep sound
- Beep sound = track is good
- No sound = track is broken
This method works for:
- Power lines
- Ground paths
- Signal tracks
You can also check continuity between test points shown in diagrams.

What to Do If a Track Is Broken
If continuity is not present, the track needs repair.
The most common repair method is jumpering.
Jumper repair process:
- Identify two healthy points on the same line
- Use a thin insulated jumper wire
- Solder carefully under magnification
- Avoid nearby components
- Recheck continuity after soldering
Many diagrams also suggest checking or replacing:
- Small resistors
- Capacitors
- Filter components
Always double-check for short circuits after jumper repair.
Importance of Jumper Accuracy
A wrongly placed jumper can:
- Short power to ground
- Damage ICs
- Make the phone completely dead
Work slowly and logically. One correct jumper can save a motherboard. One wrong jumper can destroy it.
Using Repair Forums and Community Resources
Repair forums are valuable learning platforms. Technicians share:
- Jumper diagrams
- Real repair cases
- Troubleshooting logic
- Board-level solutions
These resources help especially when official diagrams are not available.
However, do not blindly follow everything. Always verify using your own testing.
What If No Diagram Is Available
Sometimes diagrams are not available for a specific model or fault.
In such cases, the only option is:
- Schematic diagrams
- Board view files
- Logical tracing
Schematic diagrams show:
- Complete circuit flow
- Voltage sources
- Signal directions
- Component connections
Reading schematics requires practice but is a core professional skill in advanced mobile repair.
Hardware Faults vs Software Faults
PCB track checking helps only with hardware-related problems.
It will not fix:
- Software crashes
- Firmware corruption
- OS bugs
- App-related issues
Always confirm that the issue is hardware-related before starting board-level work.
Professional Insight and Experience (EEAT)
From real repair experience, a large number of “dead” or “non-working” phones are repairable through proper track checking. Many boards that appear beyond repair can be revived with one correct jumper.
This skill:
- Saves expensive motherboards
- Reduces unnecessary part replacement
- Improves diagnostic accuracy
- Builds technician confidence
That is why circuit tracing is a key topic in structured mobile repair training and practical electronics education.
“A skilled technician repairs what others replace.”
Common Mistakes to Avoid
- Jumping tracks without testing
- Trusting a single online diagram
- Applying excess heat
- Ignoring grounding paths
- Rushing the repair
Patience and verification are more important than speed.
Conclusion
Checking PCB tracks is a fundamental and essential skill in mobile phone repair. It allows technicians to diagnose faults that are not visible and not solved by simple part replacement.
With the help of:
- Diagrams
- Multimeters
- Logical thinking
- Careful soldering
Most track-related problems can be identified and repaired successfully.