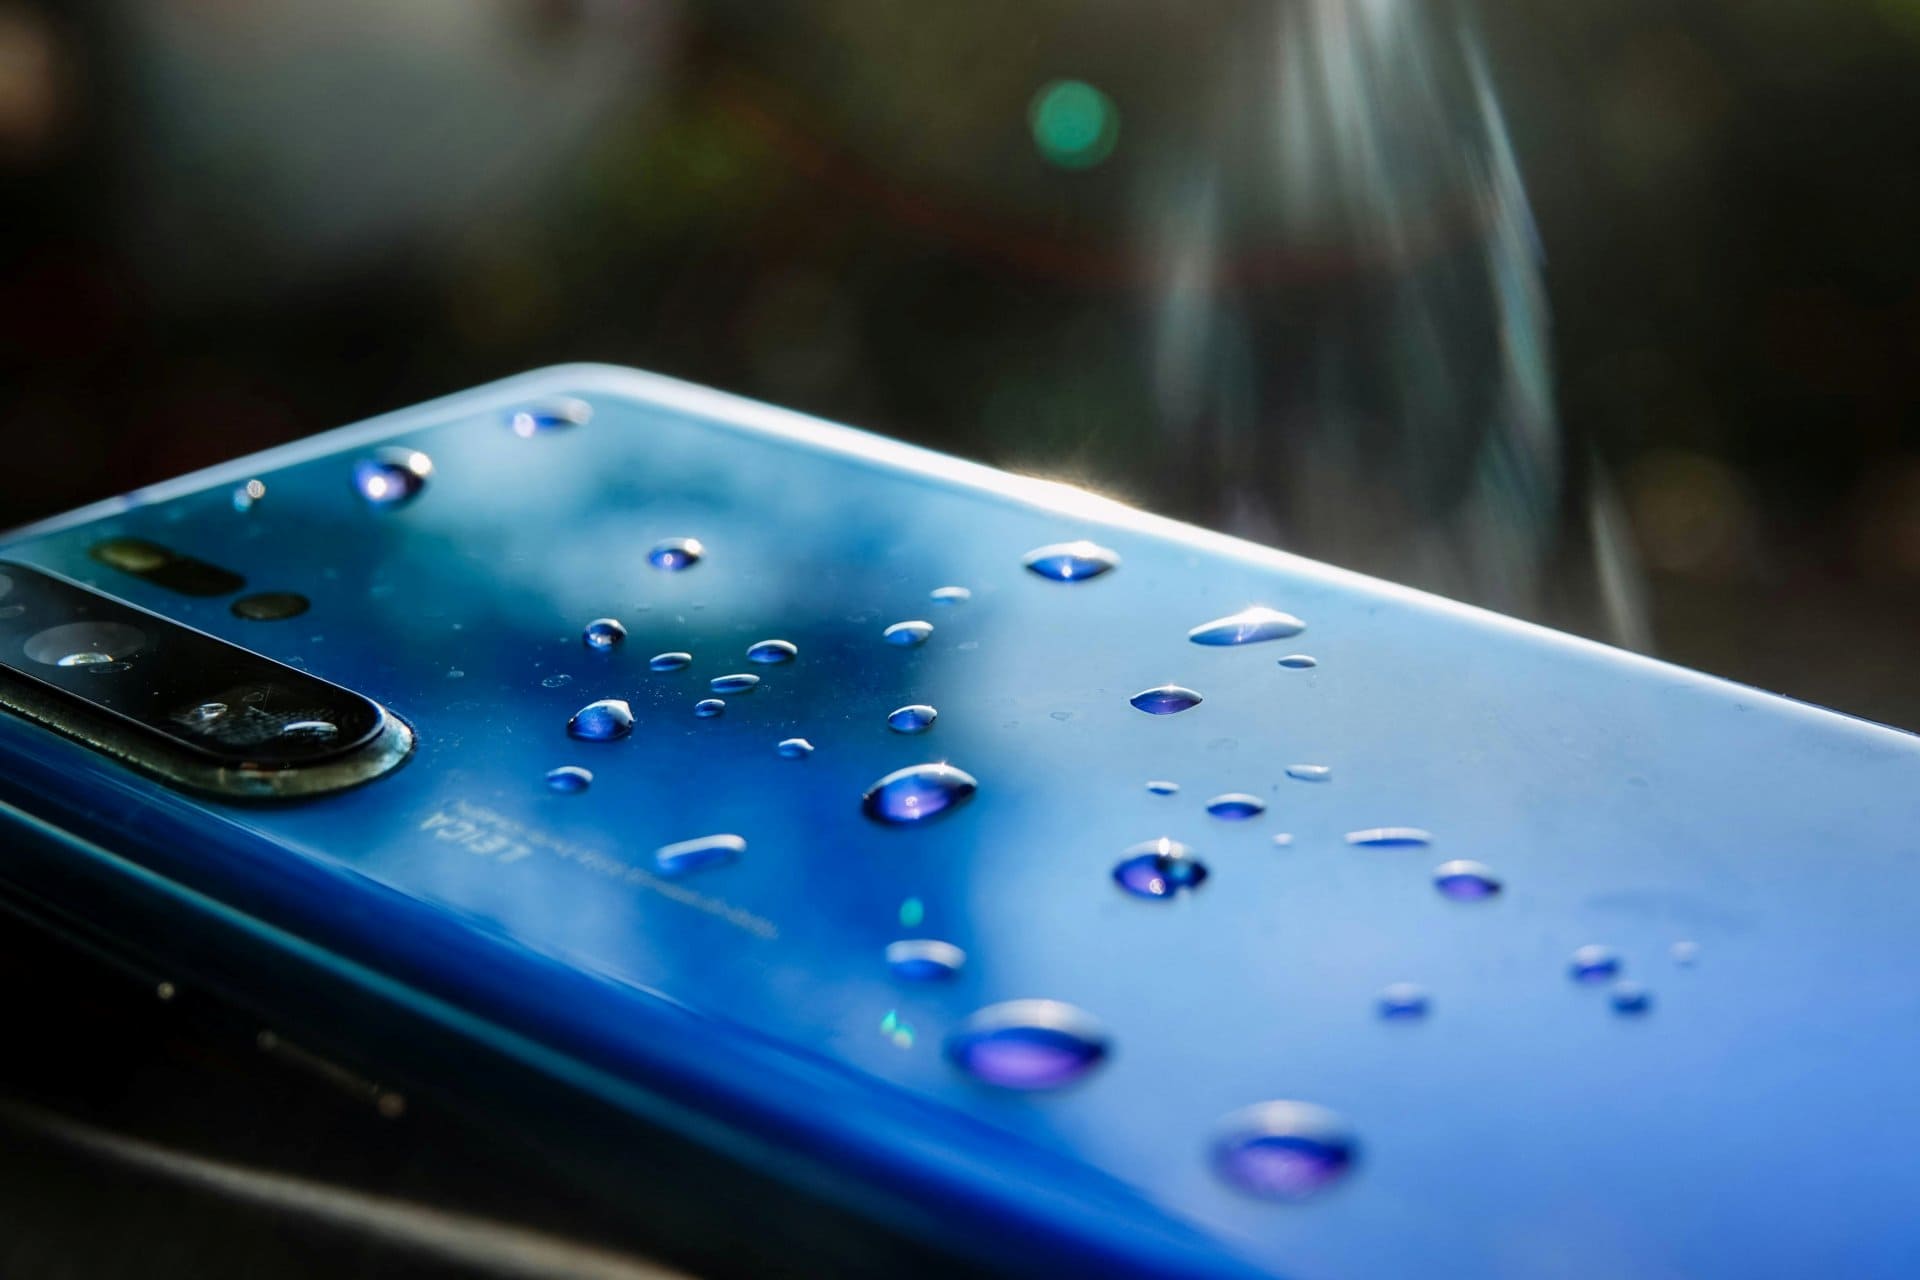
Dropping a cell phone in water is one of the most stressful moments for any user. Whether it slips into a sink, falls into a bucket, gets soaked in rain, or lands in a toilet, the panic is real. Smartphones are expensive, personal, and deeply connected to daily life.
The good news is this: a wet cell phone does not always mean a dead phone. Many water-damaged devices can be saved if the right steps are taken quickly and correctly.
This guide explains how to fix a wet cell phone step by step, using practical, technician-approved methods. It covers what to do immediately, what to avoid, and when professional repair is the best option.
“In water damage cases, speed and the right actions matter more than luck.”
Understanding What Water Does to a Smartphone
Before jumping into repair steps, it helps to understand what actually happens when a phone gets wet.
Water itself is not the biggest enemy. The real damage comes from:
- Electrical short circuits
- Corrosion on internal components
- Mineral deposits left behind after drying
When a powered device meets moisture, current flows where it should not. This can damage chips, connectors, and the motherboard.
That is why the first few minutes after water exposure are critical.
Step 1: Remove the Phone From Water Immediately
This step sounds obvious, but hesitation can be costly.
- Take the mobile phone out of water as fast as possible
- Do not press any buttons while removing it
- Do not check if it is still working
Every second the device stays powered and wet increases the risk of permanent damage.
Step 2: Power Off the Device Right Away
If the phone is still on, turn it off immediately.
- Hold the power button and switch it off
- Do not restart or unlock it
- Do not check notifications
Keeping a wet phone powered on is the biggest mistake users make.
If the phone turns off by itself, do not try to turn it back on.
Step 3: Remove All External Parts
Next, strip the device down as much as possible without tools.
Remove:
- SIM card
- Memory card
- Phone case
- Accessories like earphones or charging cables
These parts can trap moisture and slow down drying.
Place the SIM card and memory card separately on a dry cloth.
Step 4: Gently Dry the Outside
Use a soft, lint-free cloth to gently wipe the phone.
- Pat dry the screen, back, and sides
- Shake gently to remove water from ports
- Keep charging port and speaker openings facing downward
Do not use force. Do not insert anything into ports.
This step only removes surface water. Internal moisture still remains.
Step 5: Do NOT Do These Common Mistakes
Many well-known “home remedies” actually make water damage worse.
Avoid the following:
- ❌ Using a hair dryer or heat gun
- ❌ Placing the phone on a heater
- ❌ Microwaving the phone (extremely dangerous)
- ❌ Charging the phone to “check if it works”
Heat can:
- Warp internal components
- Push moisture deeper inside
- Damage battery cells
“Heat dries water fast—but it destroys electronics even faster.”
Step 6: Use Controlled Air Drying
The safest drying method is time and airflow, not heat.
What you can do:
- Place the phone on a dry towel
- Keep it in a well-ventilated room
- Use a fan at a distance to improve air circulation
Position the device so that:
- Charging port faces downward
- Speaker grills are not blocked
Leave it undisturbed.
Step 7: Silica Gel vs Rice – What Actually Works?
The Truth About Rice
Some people keep their phone submerged in unccoked rice for a few hours. Rice absorbs moisture slowly and unevenly. It can also leave dust and starch particles inside ports.
Rice is better than nothing, but not ideal.
Silica Gel (Much Better Option)
Silica gel packets:
- Absorb moisture efficiently
- Do not leave residue
- Are used in professional drying environments
If available:
- Place the phone in a sealed container
- Add silica gel packets around it
- Leave for at least 24–48 hours

Silica gel is safer and more effective than rice. However this will work only if the wetness is little and at the start of the holes/gaps.
Step 8: Wait Long Enough Before Powering On
Patience is critical.
Recommended waiting time:
- Minimum: 24 hours
- Safer range: 48 hours or more
Do not rush this step. Moisture trapped under chips and connectors takes time to evaporate.
Turning on the phone too early can permanently short the motherboard.
Step 9: Power On and Observe Carefully
After sufficient drying time:
- Power on the device
- Do not plug in the charger yet
- Check basic functions
Test:
- Screen display
- Touch response
- Speaker sound
- Microphone
- Camera
If the phone does not turn on, do not panic. This does not always mean it is dead.
Step 10: If the Phone Turns On but Shows Problems
Common post-water-damage issues include:
- No sound
- Charging problems
- Foggy camera lens
- Random shutdowns
These issues often indicate:
- Residual moisture
- Corrosion starting on connectors
At this stage, professional cleaning is recommended.
When to Take the Phone to a Repair Technician
You should visit a repair professional if:
- The phone does not power on after drying
- The phone heats up abnormally
- Charging is unstable
- Display flickers or touch fails
Technicians use:
- Isopropyl alcohol cleaning
- Ultrasonic cleaners
- Board-level inspection
Early professional intervention can prevent long-term corrosion.
Water-Resistant vs Waterproof Phones: Know the Difference
Many smartphones are advertised as water-resistant.
Important points:
- Water resistance is not permanent
- Seals degrade over time
- Drops, repairs, or wear reduce protection
Water-resistant does not mean water-proof.
Damage can still occur, especially in saltwater or dirty water.
Saltwater and Dirty Water: Extra Risk
If the phone fell into:
- Sea water
- Pool water
- Muddy or dirty water
The risk is higher due to:
- Salt corrosion
- Chemical residue
- Mineral deposits
In such cases, professional cleaning is strongly advised, even if the phone seems fine.
Battery Safety After Water Damage
Lithium-ion batteries are sensitive to moisture.
Warning signs:
- Phone gets hot
- Battery drains fast
- Swelling or bulging
If any of these occur:
- Stop using the phone
- Do not charge it
- Seek professional help
Battery failure can be dangerous if ignored.
Data Recovery From a Water-Damaged Phone
Even if the phone does not fully recover:
- Data may still be retrievable
- Storage chips often survive
Technicians can:
- Access internal memory
- Recover photos, videos, and documents
This is another reason not to attempt risky DIY fixes.
Can You Fix Water Damage at Home Completely?
Minor water exposure can sometimes be handled at home if:
- The phone was powered off quickly
- Drying was done correctly
- No corrosion started
However, deep water damage often requires professional tools.
Home methods reduce risk—but they do not replace proper cleaning.
Preventing Water Damage in the Future
Simple habits reduce risk:
- Use waterproof cases near water
- Avoid using phones in bathrooms
- Keep devices away from kitchen sinks
- Do not charge phones near liquids
Prevention is always cheaper than repair.
Technician-Level Insight: Why Some Phones Die Later
Some phones work fine after drying, then fail weeks later.
Reason:
- Hidden corrosion slowly eats circuit paths
This is why technicians recommend internal cleaning, not just drying.
“Water damage is not always immediate. Sometimes it waits.”
Repair or Replace: Making the Right Decision
Consider replacing the phone if:
- Motherboard damage is severe
- Repair cost is too high
- The phone is very old
Repair makes sense if:
- Damage is caught early
- Device value is high
- Data is important
A technician can help evaluate honestly.
Frequently Asked Questions (FAQs)
1. Can a wet cell phone be repaired completely?
Yes. Many wet cell phones can be repaired if they are powered off quickly and dried properly. Early professional cleaning greatly improves success.
2. How long should I wait before turning on a water-damaged phone?
If you are not giving the handset for repairs. you should wait at least 24–48 hours after proper drying. Turning it on too early can cause permanent internal damage.
3. Does putting a wet phone in rice really work?
No. Rice can absorb very little moisture, but it is not very effective. Silica gel packets work better but only if the water is minimum and at the border only.
4. Can water damage affect a phone later even if it works now?
Yes. Corrosion can develop slowly and cause problems days or weeks later if the phone is not cleaned internally.
5. Should I repair or replace a water-damaged smartphone?
Repair is worth it if the phone is newer or data is important. Replacement may be better if repair costs are high or damage is severe.
Final Thoughts
A wet cell phone is not automatically a lost cause. Quick action, correct steps, and patience can save many water-damaged smartphones.
The most important rules to remember:
- Power off immediately
- Avoid heat and charging
- Allow proper drying time
- Seek professional help when needed
Smart handling can mean the difference between recovery and permanent failure.