In the world of mobile phone repairing, the SMD rework station is one of the most essential and powerful tools. It allows technicians to heat, solder, remove, and reflow components with precision. Whether you want to repair a charging port, fix a loose IC, or carry out micro-level maintenance, this tool is the backbone of hardware repair work.
Yet many beginners feel intimidated by it. They fear damaging nearby components, overheating ICs, or using the wrong settings. In reality, using a rework station is simple once you understand the fundamentals. It is a tool of accuracy, not force, and the more confidently you handle it, the better your repair results.
As many experienced technicians say, “A rework station is only dangerous in untrained hands — in skilled hands, it’s a miracle machine.”
This guide covers everything you need to know, from how the tool works to professional techniques you can start using immediately.
What Is an SMD Rework Station?
An SMD rework station (also called a hot air rework station, BGA rework station, or simply “blower” in repair shops) is a machine that blows out controlled hot air. This hot air allows you to:
- Heat ICs
- Remove ICs
- Reflow solder joints
- Fix dry solder faults
- Replace SMD components
- Install charging ports
- Repair microphones, sensors, and connectors
It provides precision heating, something a soldering iron cannot achieve on its own.
Modern rework stations come with:
- Temperature control
- Airflow control
- Different nozzle sizes
- Anti-static safety measures
- Heating element protection
- Digital displays (in many models)
- Infrared versions for highly sensitive components
The goal is not to burn components, but to heat them safely and evenly until solder melts or reflows.
Why Do ICs and Components Need Heating or Rework?
Several real-world conditions cause ICs and SMD components to develop loose connections:
- Vibrations
- Sudden impacts or drops
- Repeated heating and cooling cycles
- Normal wear and tear
- Moisture
- Manufacturing limitations
- Poor quality soldering
- Excessive current load
The result is a dry solder joint, meaning the solder balls or pads lose proper contact with the PCB.
Depending on which component is affected, you may experience issues like:
- Phone not switching ON
- No charging
- No network
- No sound
- Display not working
- Auto restart
- Heating issues
- Touch not working
- Camera errors
This is especially common with BGA ICs, which have hundreds of tiny solder balls under them.
Sometimes, simply heating the IC with the rework station reflows the dry joints and fixes the issue.
If the problem remains, technicians proceed with:
- Reballing the IC (rare and advanced)
- Replacing the IC with a new one
Different Types of Rework Stations
While your original content mentions the traditional hot air station, today’s market includes several advanced types:
1. Hot Air Rework Station (Most Common)
- Uses controlled hot air
- Works for most mobile repair jobs
- Affordable and easy to learn
2. Infrared Rework Station
- Heats using infrared light
- Does not burn plastic parts
- Useful for sensitive components
- More expensive but safer
3. Hybrid Rework Station
- Combines hot air + infrared
- Excellent for BGA ICs
- Used in professional repair labs
For most mobile repair technicians and DIY learners, a standard hot air rework station is more than enough.
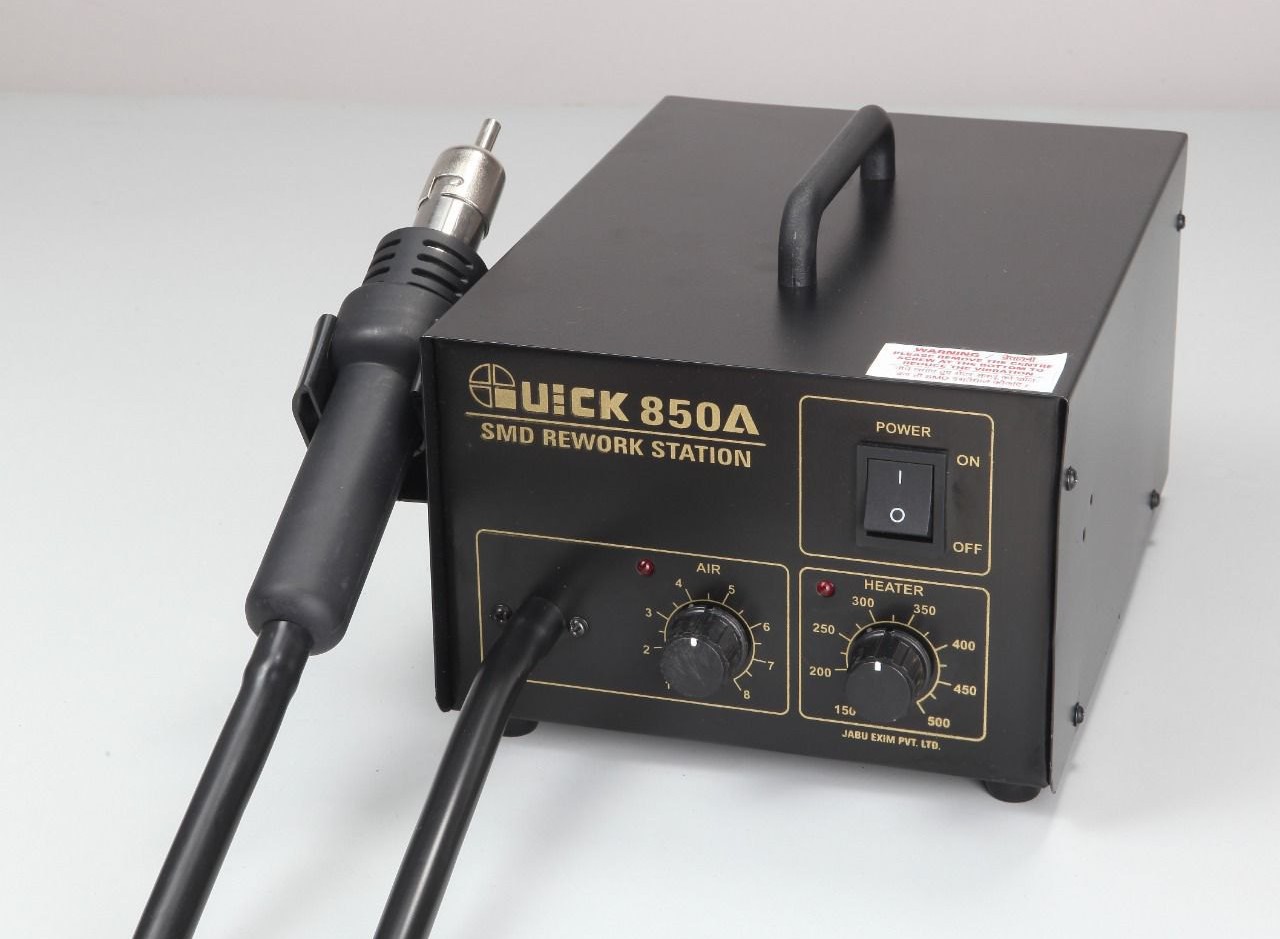
Parts of the Rework Station You Must Understand
A rework station has several core controls:
• Temperature Control (Heat Control)
Sets how hot the air will be.
Higher temperatures melt solder faster, but can damage components if misused.
• Airflow Control (Air Control)
Regulates the force of air coming out.
Too much airflow can blow components away.
• Nozzles / Tips
Direct the air to a precise area.
Narrow nozzles: ICs and small jobs
Wide nozzles: Larger components, heating areas
• Heating Element
Inside the handle, it heats the air.
• Stand
Holds the handle safely when not in use.
Learning these parts makes operation safer and more accurate.
Choosing the Correct Temperature
A common question is:
What temperature should I use?
Your old content mentioned 300–400°C, which is still accurate — but technique matters more than raw numbers.
General Temperature Guidelines
- Small SMD components: 280–330°C
- Medium-size ICs: 320–350°C
- Large ICs or BGA chips: 350–400°C
- Charging ports: 300–350°C
- Plastics nearby: Use lower heat or shield them
The actual temperature required depends on:
- PCB thickness
- IC size
- Nozzle size
- Type of solder
- Position of nearby parts
- Condition of the board
Important:
Never start with high heat. Begin low, then increase slowly.
Choosing the Correct Airflow Setting
Airflow is just as important as temperature.
Too much air = components blown away
Too little air = heating element gets damaged
Recommended airflow:
- Slightly above the minimum
- Smooth, controlled flow
- Enough to allow even heating
For beginners, a low-to-medium airflow gives the best results.
Selecting the Right Nozzle
Different tasks require different air concentration.
Narrow nozzles
- Use for ICs, SMD parts, connectors
- Direct heat precisely
- Reduce damage to nearby components
Wide nozzles
- Use for removing shields
- Heating large areas
- Preheating boards
Choosing the right nozzle prevents accidental damage.
Using Soldering Flux: The Secret to Clean Work
Flux is essential during heating and removal.
Benefits of using flux:
- Lowers melting temperature
- Prevents oxidation
- Allows solder to flow smoothly
- Avoids pad lifting
- Protects delicate joints
Apply flux around the edges of the IC or part before heating.
Without flux, your work will be harder and riskier.
How to Use the Rework Station Step-by-Step (Beginner-Friendly)
Now let’s convert everything into a practical, easy-to-follow process.
Step 1: Prepare the Work Area
- Use a clean, flat surface
- Make sure lighting is bright
- Keep tools organized
- Wear anti-static precautions if possible
Step 2: Apply Soldering Flux
Apply a small amount around:
- The IC
- Charging port
- Component you want to remove or heat
Flux helps in reflow and removal.
Step 3: Set Temperature and Airflow
A safe starting point:
- Heat: 320–350°C
- Air: Slightly above minimum
Adjust based on board response.
Step 4: Start Heating in Circular Motion
Do not hold the nozzle directly in one spot.
Move the handle in small circular motions around the component.
This ensures:
- Even heating
- No overheating of one area
- Smooth solder melting
Professionals say: “Your hand must dance, not stay still.”
Step 5: Continue Heating Until the Component Loosens
You will notice:
- Solder becomes shiny
- IC edges loosen
- Component moves slightly with tweezers
Do not pull or force removal.
If it resists, heat a little more.
For reflow (not removal), 2–3 rounds of slow circular heating are usually enough.
Step 6: Lift the Component Carefully
Use:
- Fine tweezers
- IC lifter
- Straight motion
Avoid twisting, as this may lift pads from the board.
Step 7: Clean the Pads and Prepare for New Component
Use:
- Solder wick
- Flux
- Low-heat iron
- IPA (isopropyl alcohol)
Clean pads must be shiny and flat before replacing any component.
When to Use Reflow, Reballing, or Replacement
1. Reflow (Heating only)
Use when:
- IC connections are dry
- Minor faults appear after drops
- Device behaves intermittently
Most common and safest method.
2. Reballing
Used rarely by technicians because:
- Time-consuming
- Requires specialized tools
- Risky for beginners
Performed only when:
- IC is good
- Solder balls are shorted or oxidized
- No replacement IC available
3. IC Replacement
Use when:
- IC is faulty
- Component is burnt
- Reflow does not fix the issue
- Overheating persists
- No power faults exist
Replacing the IC is often the best solution for dead phones.
Infrared Rework Stations: Modern Alternative
Infrared stations are gaining popularity.
Benefits:
- No airflow = no component blowing
- Safe for plastics
- Very even heating
- Ideal for sensitive ICs
Drawback:
- More expensive
- Requires practice to control heat spread
If you repair phone motherboards regularly, infrared is a great investment.
Common Problems Beginners Face (and Solutions)
1. Nearby parts melting or shifting
- Reduce air
- Change nozzle
- Use aluminum tape to protect parts
2. IC does not loosen
- Increase temperature slightly
- Allow more preheating
- Apply more flux
3. Pads lift from PCB
- Too much heat
- Holding heat too long
- Pulling the component forcefully
Solution: Practice on dead boards first.
4. Board burns or turns black
- Overheating
- Air too low
- No movement of nozzle
Keep the nozzle moving at all times.
5. Coil inside handle burns
- Airflow too low
- Blocked nozzle
Always ensure airflow is slightly above minimum.
Practical Real-Life Example
A technician receives a phone that does not charge.
Diagnosis:
- Charging port loose
- Connections cracked internally
Solution:
- Apply flux
- Heat port with medium heat
- Remove port safely
- Clean pads
- Install new port with reflow + iron
The phone charges perfectly after repair.
This is a common situation solved easily with a rework station.
Safety Tips You Should Always Follow
- Never touch the nozzle during or after use
- Use tweezers, not fingers
- Keep flammable objects away
- Do not point hot air at cables or battery
- Let the machine cool before storing
- Practice on dead boards before real repairs
Safety comes first — mobile boards are small and sensitive.
Conclusion
Using an SMD rework station may seem complex, but once you understand heat control, airflow, nozzles, and flux, the process becomes smooth and almost artistic. It is one of the most important skills in mobile phone hardware repair, enabling you to fix ICs, connectors, charging ports, and countless other components with precision.
Start with simple tasks, practice on dead boards, and gradually move to more advanced repairs. With patience and consistency, you’ll master the rework station and unlock a whole new level of repair expertise.